
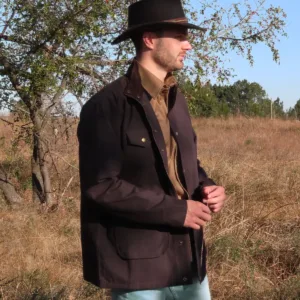
When you’re chasing sunrises on the trail, fixing fences in the rain, or just living life close to the land, you need outerwear that holds up. That’s where oilskins come in — time-tested, hard-wearing, and made to handle the wild.
What Is Oilskin?

Oilskin is a durable cotton fabric that’s been treated with wax & oil to make it water and wind-resistant. It’s not a fashion trend — it’s proper workwear, built for farmers, riders, and wanderers who don’t stop just because the weather turns. It’s an item that can be mended, resealed and lived in for the next 20 years…slow Fashion at it’s best.
You might also hear oilskin called waxed cotton, oil cloth, or just oilies. Whatever the name, it all points to the same thing: a garment that’s been trusted for generations to keep the elements out and keep you moving.

Where Does It Come From?
The origin of oilskin traces back to the seafarers of the 1800s. Sailors would rub linseed oil into their canvas sails and clothing to keep dry on stormy seas. Eventually, this idea evolved into a craft of its own — purpose-built coats, jackets, and dusters that could take a beating and keep going.
Today, oilskin is part of the western and outdoor lifestyle, used by folks who prefer grit over gloss.
The Benefits of Oilskin Gear
Water and Windresistant
Built for real storms, not just city drizzle.
Breathable
Unlike plastic raincoats, oilskin lets your body breathe while still keeping you dry.
Durable
Oilskin ages well. The more you wear it, the more character it takes on.
Low-maintenance
No fancy cleaning needed, just the occasional reproofing.
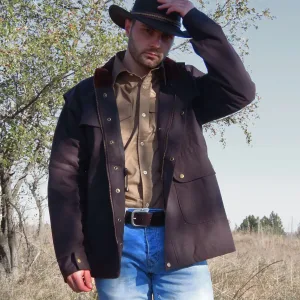
Classic style
Whether you’re working cattle or walking the dog, it looks right at home.
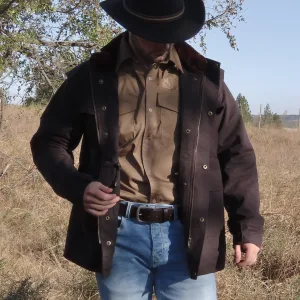
Silent movement
Unlike synthetic raincoats that rustle with every step, oilskin stays quiet — perfect for hunting, working with livestock, or moving through the bush unnoticed.

What to Expect When You Get Your First Oilskin
If you’ve just picked up your first oilskin coat or jacket, don’t be surprised by a strong smell of oil or wax — that’s a sign it’s freshly treated and ready to do its job. It’s normal and it fades with time.
What to do:
-
Hang it up outside or in a well-ventilated space for a few days.
-
Let it air naturally — no need to wash it (and definitely don’t!).
-
Avoid contact with light-coloured furniture or car seats until the initial oil has settled.
Caring for Your Oilskin
Your oilskin doesn’t need pampering, but a little care goes a long way:
- Clean off dirt with a brush or damp cloth. Do not use soap or put it in the washing machine — this removes the waterproofing.
- Dry it naturally. Hang in the shade, away from heaters.
- Reproof when water stops beading. Use a oilskin reproofer or make your own.
- Repair small rips early. A quick patch job saves you bigger trouble down the line.
- Store it right. Hang it in a dry, cool space — never folded, never in plastic, and never when damp.

How to Reproof Your Oilskin Jacket or Coat
Over time, your oilskin garment may lose its water-repellent finish. When water no longer beads on the surface or the fabric feels dry, it’s time to reproof it. Follow these steps using our oilskin wax reproofer (400g tin):
What You’ll Need:
-
- Your clean, dry oilskin garment
-
A tin of Oilskin Reproofer
-
A pot (to use as a double boiler)
-
A stove or heat source
-
A clean brush or cloth (natural bristle works best)
-
A hairdryer or warm sunshine
Step-by-Step Instructions
-
Prepare the Wax
Remove the lid from the tin. Place the tin into a pot of water and gently bring the water to a boil. Let the tin sit until the wax is fully melted and becomes liquid. -
Test First
Always test a small, hidden section of your garment first to check for colour changes or reactions, especially on older or different-brand oilskins. -
Apply the Wax
Using a brush or cloth, apply the melted wax evenly to the surface of the oilskin. Work in small sections and avoid overloading the fabric. -
Melt the Wax In
Use a hairdryer to gently heat the waxed areas. This helps the wax melt into the fabric for better absorption and even finish. You can also hang the coat in warm sunshine. -
Buff & Set
Once waxed and heated, lightly buff with a clean cloth if needed to smooth out excess wax. The coat may feel slightly tacky at first — this settles with time and wear. -
Let It Cure
Hang the coat in a warm, dry space and allow it to cure for 24–48 hours before wearing.
Oilskin gear isn’t just clothing — it’s a workhorse.
Built for real weather and real life, it’s the kind of outerwear that sticks with you through the years and wears your story into every crease.
Showing all 10 results
-
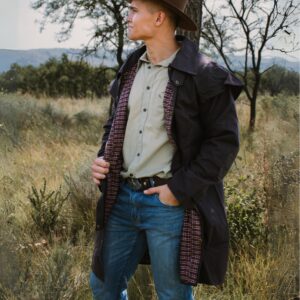
All-Weather Oilskin 3/4 (Short) Coat
R1999 -
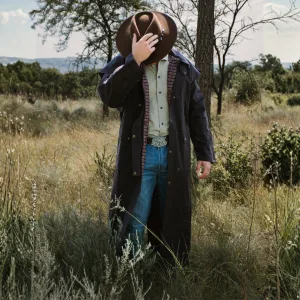
All-Weather Oilskin Long Coat
R1999 -
Bushman Oilskin Vest
R1550 -
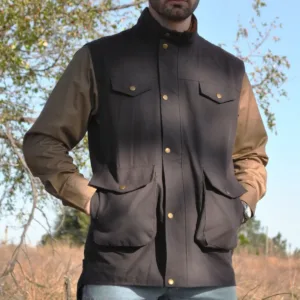
All-Weather Oilskin Heritage Jacket
R1999 -
All-Weather Oilskin Alpine Jacket
R1999 -

Oilskin Attachment Hood
R199 -

Polar Fleece Lining for All-Weather Oilskins
R399 -
All-Weather Oilskin Alpine Ridge Jacket
R1999 -
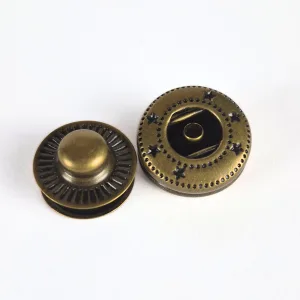
Oilskin Replacement Button Set
R7 -

Snap Button Setting Tool
R350